In this article:
Your game stutters, video edits lag, or work files take forever to load. You're tired of pre-built computers and want a machine tailored to your needs. If you've ever wanted to learn how to build a PC but felt intimidated, you're in the right place.
Putting together a PC isn't just for hardcore gamers or IT professionals; it's for anyone who wants control, customization, and cost-effectiveness. This guide will walk you through each step, transforming you from a beginner to a confident PC builder.
Pre-Build Planning: Setting the Stage
It's essential to lay the groundwork before assembling your dream desktop. Careful planning ensures you choose the right components and avoid compatibility issues.
Define your needs.
This crucial step guides your selection of PC parts and guarantees you build a machine that serves your purpose.
- Ask yourself: What will you use this PC for? Do you plan to game, edit videos, or simply browse the web? Your needs will dictate the components you select.
- Next, set a budget. How much are you willing to spend? Are you aiming for budget (₱20,000-₱35,000), mid-range (₱35,000-₱75,000), or high-end (₱75,000+)? This helps you prioritize.
- Then, determine your desired performance level. Do you need a high-end gaming rig or a basic workstation?
Research components.
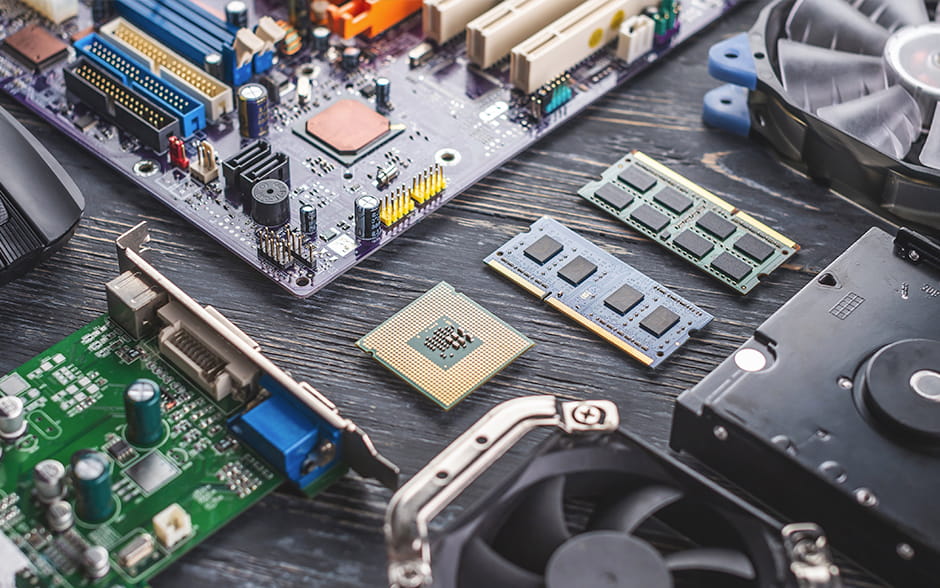
Now that you have a clear picture of your needs and budget, you can dive into the exciting world of computer parts. Take your time, read reviews, and compare specifications to make informed decisions. Here’s a list of all the PC parts you should be looking at:
1. Case
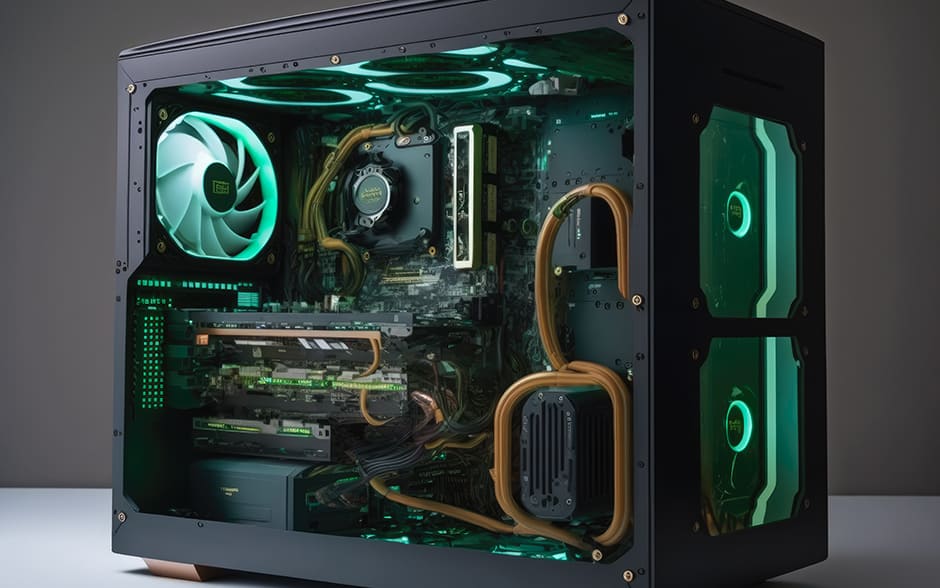
The PC case, or tower, is the home for all your computer parts. It has buttons on the exterior for power and resets, designated areas for parts, and comes in various colors, styles, and sizes, including:
- Full Tower Cases: The largest size, offering ample space for high-end components
- Mid Tower Cases: The most common sizes, balancing space, and features
- Mini Tower Cases: A compact option for smaller builds
- Small Form Factor (SFF) Cases: The smallest size, prioritizing space efficiency
Consider factors like airflow, cable management options, and aesthetics.
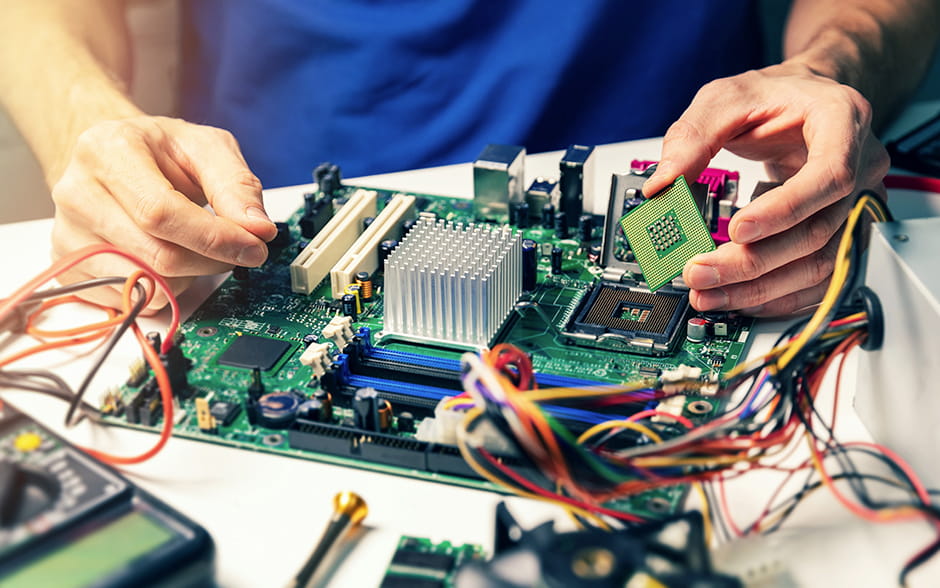
2. Motherboard
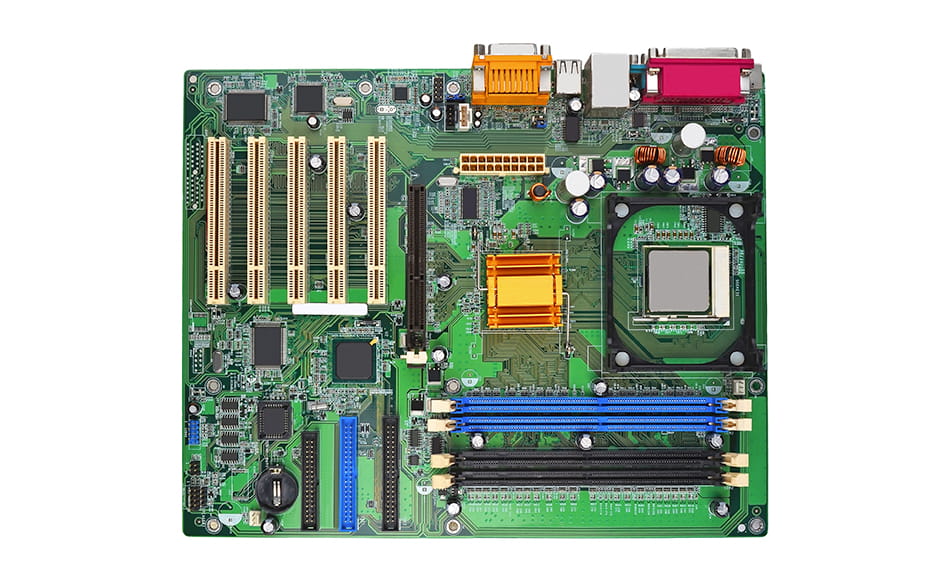
This motherboard is your PC's central hub, connecting and powering all other components. It has slots for CPU, RAM, GPU, and connectors for various cables. This circuit board enables communication and coordination between all parts. Look for features like the chipset, expansion slots, and form factor.
3. Processor (CPU)

The central processing unit (CPU) is the brain of your computer, responsible for processing all the instructions and calculations. CPU socket types have names like AM4 and AM5 for AMD LGA 1851 and 1700, so check that your chosen CPU is compatible with the socket type on your motherboard.
Consider one with higher clock speeds (how fast the CPU can process information) and more cores (individual processing units that can handle tasks simultaneously).
4. Memory (RAM)
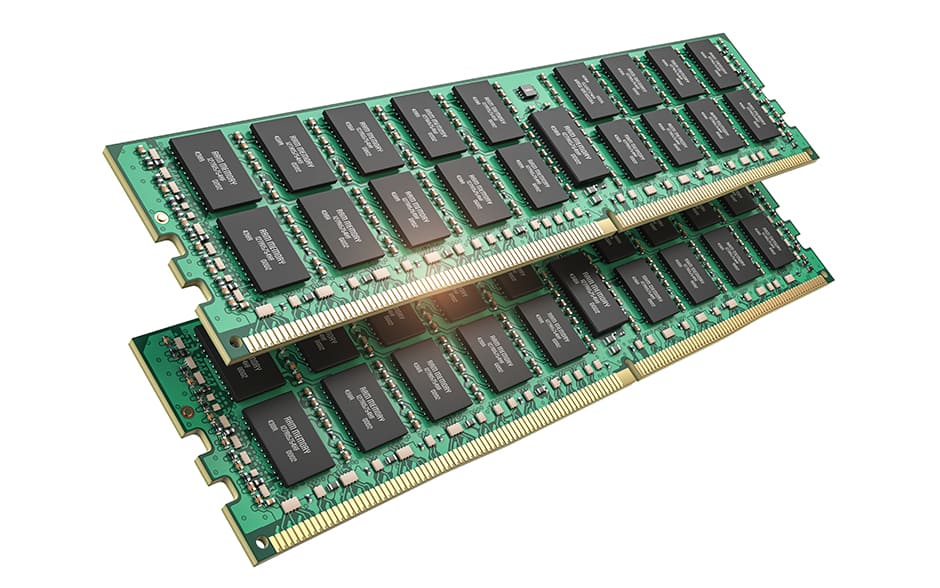
Random Access Memory (RAM) allows your computer to access information quickly and multitask efficiently. The more RAM you have, the more you can do at once—like having multiple browser tabs, programs, and games open simultaneously. 16 GB is a good starting point for most users, but gamers and content creators might need 32 GB or more. You can choose between DDR4 (the current standard) and DDR5 (the newer, faster generation) depending on your needs and budget.
5. Graphics Processing Unit (GPU)
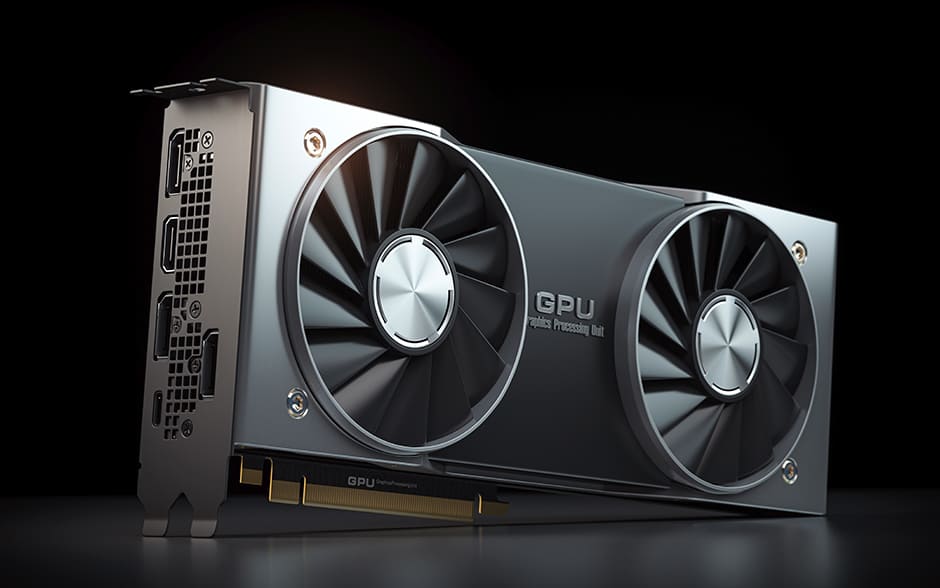
The graphics or video card creates the images you see on your monitor. It uses a Graphics Processing Unit to handle the processing and display. A more powerful GPU means smoother visuals, especially for gaming and graphic design.
Choose between two types of GPUs: integrated GPUs (built into your processor) for basic tasks like web browsing, or discrete GPUs (separate cards) for demanding tasks like gaming and video editing.
6. Storage
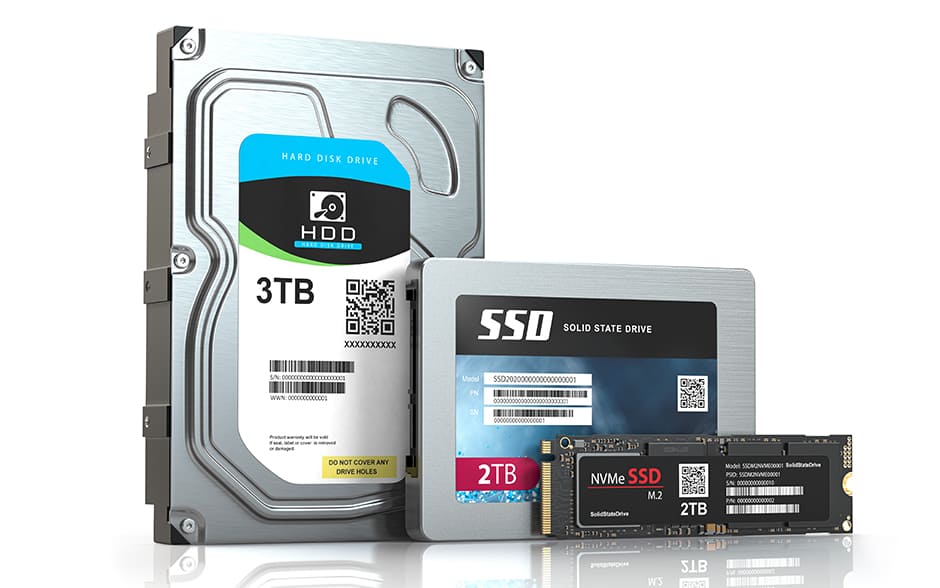
Your computer needs storage for your operating system, files, and games. These fall into three main types, each with different speeds:
- Hard Disk Drives (HDDs) are the most affordable and can store large amounts of data.
- Solid-state Drives (SSDs) are newer and much faster than HDDs, especially when opening programs or loading games.
- NVMe SSDs use newer technology for lightning-fast data access, making them ideal for demanding tasks.
Remember that HDDs and SSDs use SATA cables and need PSU power, while NVMe SSDs plug directly into the motherboard.
7. Power Supply Unit (PSU)

The Power Supply Unit (PSU) powers all your components, so choose one with enough wattage to support your system. Use an online PSU calculator, such as the Newegg PSU Calculator or Cooler Master PSU Calculator, to determine your needs. You may also want one with extra wattage for future upgrades.
8. Cooling System
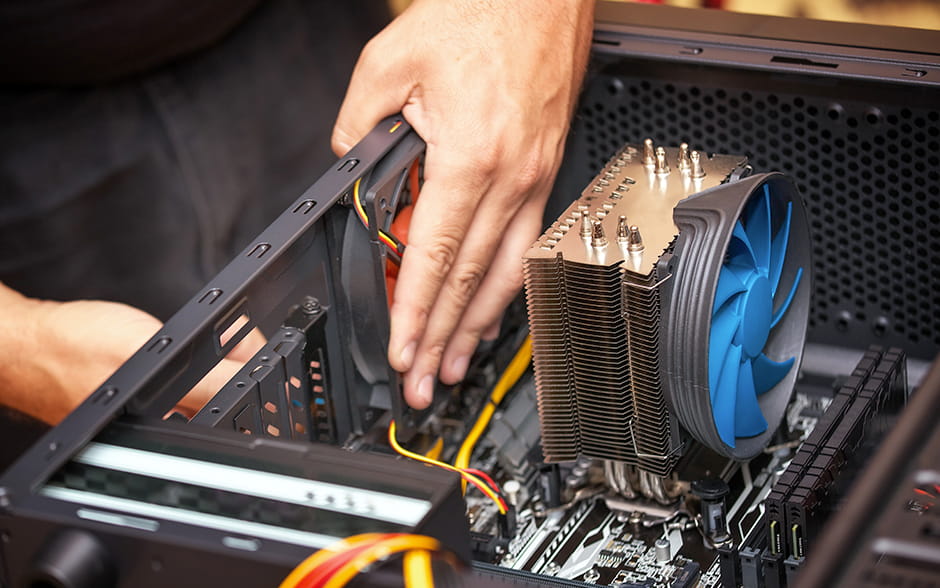
You'll need a compatible CPU cooler to keep your processor running cool and prevent overheating. CPU coolers come in two main types: air coolers and liquid coolers. Air coolers are generally more affordable and easier to install, while liquid coolers offer better performance for high-end CPUs.
Don't forget to consider the cooler's performance and noise level. You can also install case fans to improve overall airflow inside your PC.
9. Operating System (OS)
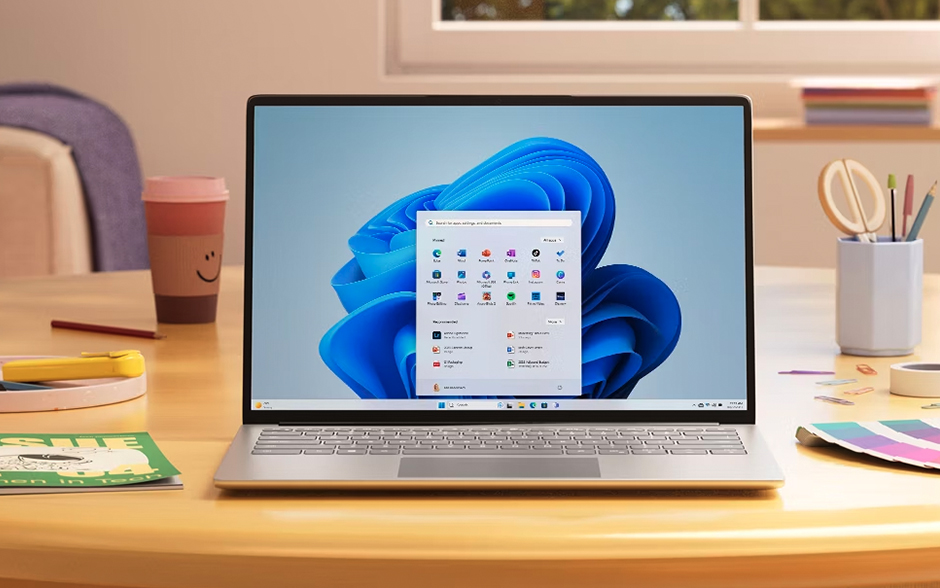
Image Credit: Microsoft
While not a physical component, your OS is the software foundation of your PC. It's what allows you to interact with your hardware and run applications. Choose one that suits your needs, such as Windows (a popular choice for general use) or Linux (often favored by programmers and developers).
10. Monitors and Input Devices
Don't forget the peripherals that allow you to interact with your PC and bring your digital world to life. These include your monitor, keyboard, and mouse. Consider factors like size, resolution, and refresh rate for your monitor, as well as ergonomics and features for your keyboard and mouse.
Find PC parts in the Philippines
You have many options for finding all the parts of a desktop computer.
- Online: Check out popular marketplaces like Lazada and Shopee. You can also try stores specializing in PC parts like PC Worth, which offer curated selections, competitive prices, and even build services!
- Physical Stores: If you prefer to see desktop parts in person, head to Gilmore in Quezon City for a variety of shops or visit established stores like PC Express, Easy PC, and DynaQuest PC. Don't forget to check out local computer shops in your area, too!
When building your PC, prioritize buying brand-new components for essential parts like the motherboard, PSU, and high-end GPUs and CPUs for safety and warranty protection.
Then, explore secondhand options to save money for cases, coolers, or storage drives. You can find great deals on platforms like Facebook Marketplace. Inspect the parts carefully and test them at the seller's place before purchasing.
Ensure compatibility.
Take a moment to double-check the compatibility of your choices before you finalize them.
- CPU and Motherboard: Verify that your CPU socket type matches the socket on your motherboard.
- RAM and Motherboard: Confirm that your motherboard supports your RAM type (DDR4 or DDR5) and speed.
- PSU Wattage: Calculate your parts' total power consumption and ensure your PSU provides enough wattage with some leeway.
- Component Clearance: Check the dimensions of your components, especially your GPU and CPU cooler, so they fit comfortably inside your chosen case.
To simplify compatibility checks, use a tool like PCPartPicker.com. Input your chosen PC components, and the website will automatically verify if they work together. This saves you time and helps you avoid potential conflicts. Once you've confirmed suitability, you can purchase your items from Amazon or source them locally.
Gather tools.

It's also important to gather the necessary tools before the actual build.
- A Phillips head screwdriver is the primary tool you'll use for most of the assembly. Choose one with a magnetic tip to make handling screws easier.
- Zip ties are essential for cable management, keeping your build tidy and organized.
- An anti-static wrist strap can reduce the risk of static electricity damaging your components. Connect it to a grounded metal object.
The Build: Step-by-Step
With your planning and tools ready, it's time to assemble your PC.
1. Prepare the case.
- Remove the side panels. Most cases have thumbscrews or clips that secure the side panels. Remove these to gain access to the interior.
- Install motherboard standoffs. These small metal pieces elevate the motherboard from the case, preventing electrical shorts. Screw them into the corresponding holes in the case. Refer to your case's manual for the correct placement.
2. Mount the CPU.
- Align the CPU. Gently lift the CPU by its edges, avoiding touching the gold contacts on the bottom. Align the arrow or triangle marking on the CPU with the corresponding marking on the motherboard's CPU socket.
- Lower and secure. Carefully lower the CPU into the socket. It should fit snugly without any force. Close the retention lever on the socket to secure it.
3. Attach the CPU Cooler.
- Prepare the cooler. If your cooler requires separate installation of brackets or backplates, attach those to the motherboard first.
- Apply thermal paste (if not pre-applied). If your cooler doesn't come with pre-applied thermal paste, you'll need to apply a small amount to the top of the CPU. A pea-sized amount in the center is usually sufficient. Refer to the cooler's instructions for the correct application method.
- Mount the cooler. Align the cooler with the mounting holes on the motherboard and secure it using the provided screws or clips. Make sure it's firmly attached, but avoid over-tightening.
- Connect the fan. Connect the cooler's fan to the appropriate CPU fan header on the motherboard.
4. Slot in the RAM.
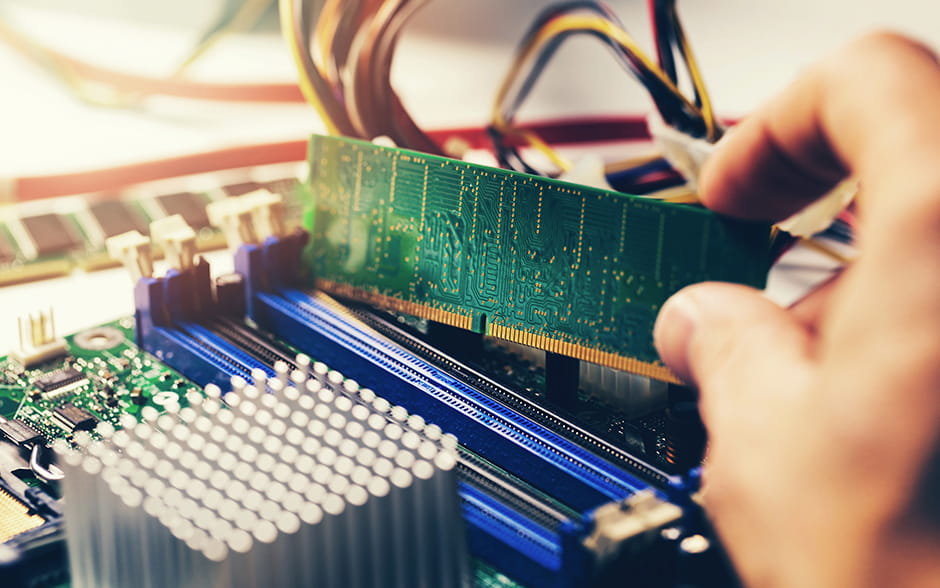
- Open the clips. The RAM slots have clips at both ends that you'll need to gently push outwards to open.
- Align the RAM. Bring the notch on the RAM module into line with the corresponding notch on the RAM slot.
- Install the RAM. Apply even pressure to both ends of the RAM module until it clicks into place and the clips snap shut. Repeat this process for each RAM module you're installing.
5. Connect the PSU.
- Position the PSU. Locate the PSU bay in your case, usually at the bottom. Slide the PSU into the bay, ensuring the fan faces outwards for proper ventilation.
- Secure the PSU. Use the screws provided with your case to secure the PSU to the case. Make sure it's firmly in place.
6. Secure the Motherboard.
- Install the I/O shield. Locate the rectangular I/O shield that comes with your motherboard and snap it into the corresponding opening at the back of your case.
- Mount the motherboard. Carefully align the motherboard with the standoffs you installed earlier. Gently lower it onto the standoffs, ensuring the ports align with the I/O shield. Secure the motherboard using screws.
- Connect the main power cable. Locate the 24-pin main power connector from your PSU and connect it to the corresponding socket on the motherboard.
7. Connect storage drives.
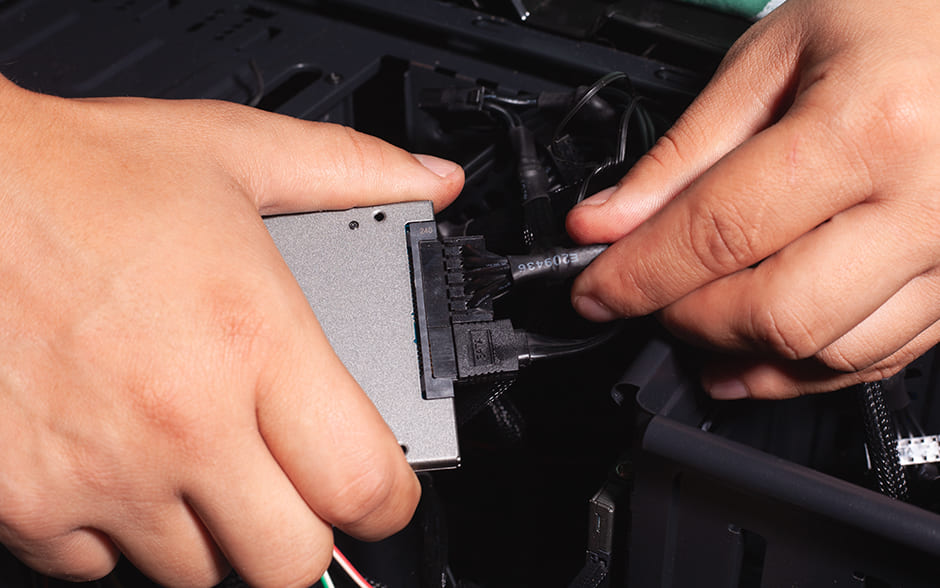
- Mount the drives. Locate the drive bays in your case, typically at the front or in a separate compartment. Slide your SSDs and HDDs into the bays, and secure them with screws.
- Connect the SATA cables. Attach one end of a SATA data cable to the SATA port on your storage drive and the other to a SATA port on your motherboard.
- Link the power cables. Fasten a SATA power cable from your PSU to each storage drive.
8. Plug in the GPU (if applicable).
- Open the PCIe slot. Locate the topmost PCIe x16 slot on your motherboard. It's usually longer than the other PCIe slots. Remove the corresponding slot covers on the back of your case.
- Insert the GPU. Align the GPU with the PCIe slot and gently push it in until it clicks into place. Secure the GPU to the case using screws.
- Attach the power cables. Depending on your GPU model, you may need to connect one or more PCIe power cables from your PSU.
9. Assemble the rest of the setup.
![A young Asian man setting up a new monitor and keyboard on his desk.]](/sites/default/files/2026-05/go-technology-article-how-to-build-a-pc-guide-in-page-16-d.jpg)
- Connect your monitor. Use a suitable cable (HDMI, DisplayPort, or DVI) to connect your monitor to the corresponding port on your graphics card (or motherboard if you're using integrated graphics).
- Connect your keyboard and mouse. Plug your keyboard and mouse into the USB ports on your PC. Depending on your peripherals, you can use either USB-A or USB-C ports.
10. Do a post-build check.
- Begin initial boot-up.
- Make sure your PC's power cable is connected to a power outlet and the PSU is switched on.
- Press the power button on your case. Your PC should turn on, and you should see lights and fans spinning.
- Access the BIOS (Basic Input/Output System).
- As your PC starts, repeatedly press the DEL or F2 key (or the key indicated on your motherboard's splash screen) to enter the BIOS settings. The BIOS is the initial software that controls your hardware before the operating system loads.
- Check that all your components (CPU, RAM, storage drives, etc.) are correctly recognized.
- Install the Operating System.
- Boot from USB. Insert the bootable USB drive you prepared earlier with your operating system. Then, configure the BIOS to boot from the drive.
- Follow the on-screen instructions to install your operating system. This process may take some time.
Post-Build: Finishing Touches
You've successfully assembled your PC and installed the operating system—a huge accomplishment! Now, it's time to add finishing touches to optimize your system so everything runs smoothly.
Double-check all connections.
A thorough inspection now can save you troubleshooting headaches later.
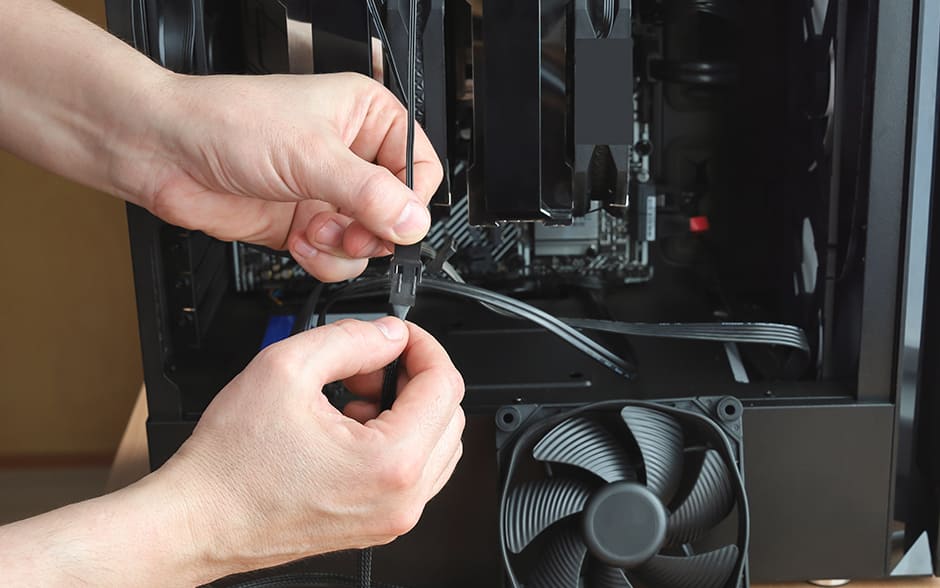
- Inspect all cables. Carefully examine all the power cables, data cables, and fan connectors to ensure you've securely plugged them into their sockets.
- Pay attention to details. Look for any loose connections or cables that might be obstructing airflow.
Install drivers.
Drivers are essential software that allows your operating system to communicate effectively with your hardware components.
- Attach motherboard drivers. Start by installing the chipset drivers and other essential drivers for your motherboard. You can find these on the motherboard manufacturer's website or the support disc that came with it.
- Plug in GPU drivers. If you have a dedicated GPU, download and install the latest drivers from the graphics card manufacturer's website (NVIDIA or AMD).
- Connect other drivers.: Install drivers for peripherals, such as your printer, scanner, or sound card.
Your PC Building Journey Begins
Congratulations! Now that you know how to build a PC, you can develop a custom-built machine tailored precisely to your needs. Consider powering your desktop with a reliable, high-speed internet connection. Choose from GFiber Postpaid with a monthly fiber-fast speed of up to 700 Mbps for uninterrupted gaming and streaming. As a backup, you can also opt for GFiber Prepaid for flexible internet access that fits your budget.
With a powerful PC and seamless connectivity, you're ready to conquer any digital frontier. Happy building!