In this article:
From tasting street food in Seoul’s K-drama hotspots to immersing yourself in the picturesque views of the Arabian Peninsula, your next big trip is waiting! Before you pack your bags, it’s important to sort out your tourist visa first.
Proper preparation and complete documents are your key to earning that embassy approval. Use this comprehensive guide to understand every tourist visa requirement, gather your files with ease, and step into your interview with complete confidence.
Visa-Free or Visa Required? Know Your Destination First
The Philippine passport ranks 72nd in the world in the Henley Passport Index, with access to around 65 visa-free or visa-on-arrival destinations. But most global destinations still require a prior visa application and embassy processing.
Before gathering paperwork and ticking items off on your tourist visa checklist, determine your destination’s entry requirements. Visa rules vary by region, so your preparation depends entirely on where you’re headed. Consider the table below as your initial guide on what to expect.
Category | Typical Requirements | Popular Destinations for Filipinos |
| Visa-Free |
|
|
| Visa on Arrival or eVisa |
|
|
| Traditional Embassy Visa |
|
|
Pro Tip: Researching visa guidelines and uploading tourist visa application requirements is much easier with a fast, reliable home connection, whether you prefer a dedicated GFiber Postpaid or the commitment-free flexibility of GFiber Prepaid.
Documents Needed for Tourist Visa Applications
Countries may have specific travel visa requirements for Filipinos, so check your destination’s consulate’s official website for the latest information. Nevertheless, you can get an early start by applying for these frequently requested documents.
Personal Identification Documents

Proof of identity is essential for every government document you need to obtain. If you’re ordering documents online, use official government sites to protect yourself from phishing scams.
- Passport-Sized Photos: Ensure the background color and dimensions strictly follow the embassy’s guidelines like wearing a collared shirt and removing hats and glasses. Check the required passport size of your destination country.
- Valid Passport: This must be valid for at least six months past your intended departure date. If you need to renew or apply for a new one, schedule an appointment first on the official Department of Foreign Affairs (DFA) portal.
- Birth Certificate: Visit the Philippine Statistics Authority (PSA) website to schedule an appointment or apply online if you need another copy.
- School Documents (For Students Only): Some countries require a photocopy of school IDs and a certificate of enrollment.
Pro Tip: Skip the long queues and order your PSA birth certificate without leaving home! You can easily request official PSA certificates directly through GLife on the GCash app to have them delivered straight to your doorstep.
Financial Documents
Establishing financial capability is key to reassuring visa officers that your trip is fully funded and that you have a stable job, business, or family life to return home to.
You only need to submit the items relevant to your status, whether you’re employed, self-employed, or sponsored. But providing a complete and consistent set of records for your category makes your application significantly stronger.
Get from your bank a:
- Bank Certificate: This shows your account type, current balance, account opening date, and average daily balance for the last six months.
- Bank Statement: This reflects transactions over the last three to six months. Don’t make a large deposit just to beef up your balance, since visa officers will typically look at your regular cash flow.
Important reminder for U.S. Visa Applicants: Focus on your Online Nonimmigrant Visa Application (DS-160) and interview. The U.S. Embassy evaluates overall financial stability and home ties rather than a fixed minimum bank balance.
Get from your employer a/an:
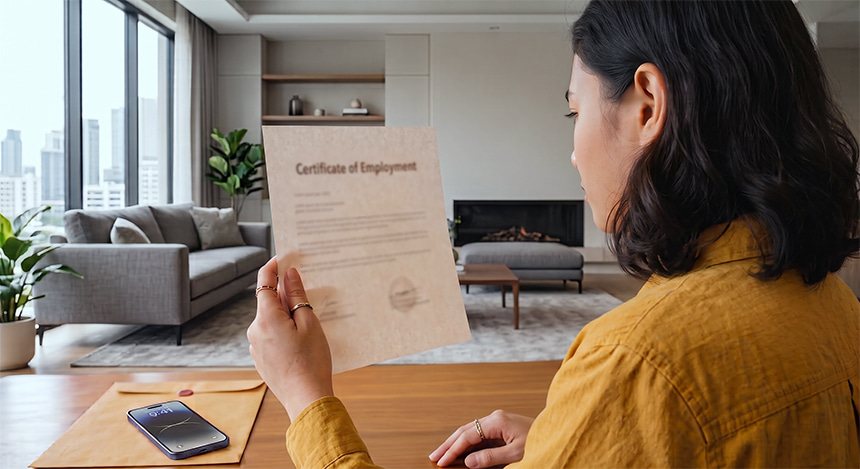
- Certificate of Employment: It must include your position, salary, date of hire, company address, contact info of the issuer, and the specific purpose of issuance (stating it’s for a tourist visa application).
- Income Tax Return (ITR) or BIR Form 2316: Give your most recent tax statement. If you operate as a freelancer or independent consultant, self-filing your ITR is highly recommended to avoid delays in document validation.
If you’re a business owner, there are additional documents you’ll need to secure.
- Business Registrations and Permits: Present copies of your Department of Trade and Industry (DTI) or Security and Exchange Commission (SEC) documents, and the latest mayor’s permit.
- Business Financial Records: Provide audited financial statements, tax returns, and bank account statements.
If other people will be sponsoring your trip, applying for a visa also requires their proof of identity and financial capability.
- Affidavit of Support: Your sponsor needs to provide a notarized letter stating they’ll financially support you during your trip.
- Sponsor’s Documents: This includes their valid IDs, recent bank statements, ITR, and certificate of employment.
- Proof of Relationship: Submit marriage or birth certificates that can establish your relationship with your sponsor.
Travel Plans and Accommodations
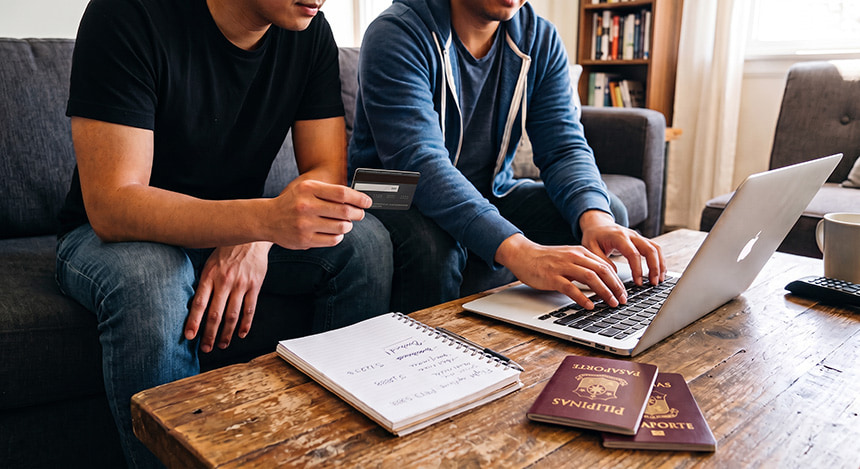
Embassies also require tangible proof of a structured itinerary and a guaranteed return date to reassure visa officers that you’re serious about your travel plans and intend to return home.
When organizing your submission, start with flight and hotel reservations by using travel agencies or online booking platforms that offer free cancellation. Avoid paying for non-refundable tickets before your visa is approved unless explicitly instructed by the embassy. Complement these bookings with a clear, day-by-day travel itinerary outlining your planned activities and hotel stays.
Finally, don’t overlook travel insurance; many territories, such as the Schengen Area, make travel medical coverage mandatory for visa approval. Securing a policy beforehand, which can be easily arranged right on your phone via GCash GInsure, helps protect your trip against emergencies and unexpected delays.
Embassy Application Forms
Download and complete the official visa application form from the target embassy’s portal. Double-check all entries, as errors, such as spelling mistakes in your passport, can lead to delays or rejections.
Preparing for Common Visa Interview Questions
You’ve secured your documents and scheduled your visa appointment. Now it’s time for the big moment: the visa interview. Not all visa applications require an in-person interview, but if yours does, keep your answers short, polite, and direct.
Be ready for questions covering key areas of your trip, such as your travel plans, finances, and ties back home.
Purpose and Itinerary
State exactly why you’re visiting and what you plan to see. For example, “I’m taking a 7-day vacation to visit Tokyo and Kyoto during autumn.” Usual questions that can probe this include:
- What’s the purpose of your trip?
- How long do you plan to stay?
- What do you plan to do?
Financial Capability
Explain clearly how you’ll fund your trip. If self-funded, reference your steady employment or business income. If sponsored, state your sponsor’s relationship to you and present their supporting financial paperwork. Expect questions such as:
- How will you fund your trip?
- Who’s paying for your expenses?
- What’s your source of income or occupation back home?
Ties to the Philippines
Demonstrate that you have strong economic, family, or personal reasons that anchor you to the Philippines and guarantee your return. Typical questions you might hear include:
- What ties do you have to your home country?
- Do you have an approved leave from your employer?
- What commitments or family obligations will you return to after your visit?
Travel History and Compliance
Be completely honest about your previous international trips or past visa applications. If you’ve been previously denied, explain what updated documentation or circumstances you’re presenting this time. To assess you in this category, consular officers frequently ask:
- Have you traveled internationally before?
- Do you have family or friends in your destination country?
- Have you been denied a visa before?
Pro Tip: Bring productivity tech into your visa prep! You can use AI tools to streamline your preparation by running mock embassy interviews on AI Fiesta via the GlobeOne app. Practice your answers in real time to ensure they sound clear, natural, and convincing.
Other Tips to Increase Your Chances of Visa Approval
Before submitting your paperwork or stepping into your interview, keep these essential rules in mind to maximize your chances of getting that visa stamp.
- Double-check everything. Missing or incomplete documents are the single most common reason for tourist visa rejections.
- Keep answers direct. Answer only what the officer asks during the interview. Overexplaining can raise unnecessary follow-up questions or make you appear nervous.
- Ensure information consistency. Your application form, bank records, Certificate of Employment (COE), and interview answers must tell the exact same story without discrepancies.
- Apply early. Submit your application one to three months before your intended departure to allow ample processing time and avoid last-minute stress.
- Establish strong home ties. Consular officers prioritize applicants who have clear reasons to return to the Philippines. Highlight your stable job, ongoing business operations, active property titles, or immediate family commitments back home.
Pro Tip: Keep digital backups of all your compiled documents, IDs, and certificates safely stored in the cloud. Using a secure storage solution like Globe Cloud ensures your visa paperwork is backed up, encrypted, and easily accessible from your phone or laptop whenever you need to reference or re-upload files.
Frequently Asked Questions
Got questions about visas, layovers, or passing through Philippine immigration? The following information on visas and immigration may clear up confusion for first-time travelers.
What documents do Filipinos need for a tourist visa abroad?
You’ll need to present your valid passport (with at least six months’ validity), boarding pass, confirmed return ticket, valid visa (if required), and completed eTravel departure QR code when traveling abroad. Immigration officers may also ask for hotel bookings, bank statements, proof of employment, or a Department of Social Welfare and Development (DSWD) clearance (for minors).
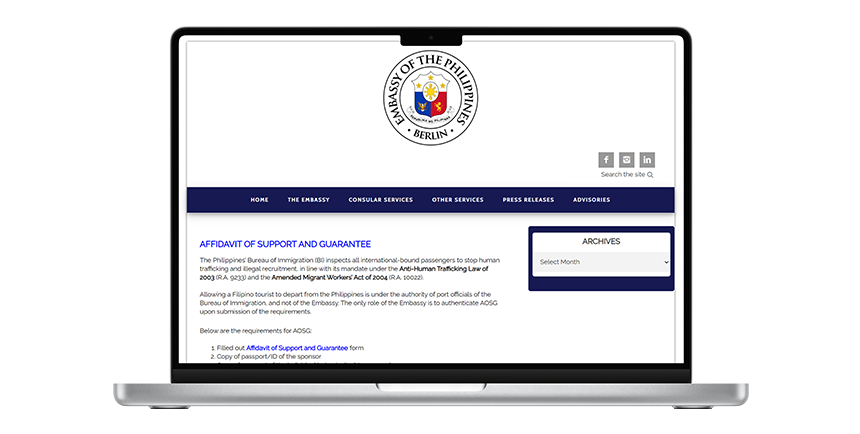
An Affidavit of Support and Guarantee (AOSG) and proof of ties are also usually needed if you’re visiting a foreign partner or relative, to verify that you intend to return after your trip and to minimize the risk of offloading.
How can I avoid being offloaded at the airport?
You can avoid offloading by carrying consistent documents that prove your financial capacity and strong home ties, such as a Certificate of Employment, approved leave proof, business permits, or current school enrollment documents. Arrive early, remain calm, and answer questions confidently about your trip details.
Do I need a transit visa if I have a layover in a country that requires a visa?
If you’re a Philippine passport holder, you’ll need a transit visa, a short-term permit, allowing you to pass through a country to your final destination if you need to pass through local immigration for various reasons. Remaining inside the international transit area is usually visa-free, though rules vary by country and airline.
Can I travel visa-free if I travel by land across borders?
Yes, visa-free privileges apply regardless of whether you enter by land, air, or sea. If a country grants visa-free entry to Filipinos, you can cross by land without a visa; if it requires a visa, you must secure one before crossing. Ensure the specific border checkpoint allows foreign travelers.
How does the digital nomad visa work for Filipinos in countries like Taiwan or Thailand?
Digital nomad visas allow remote workers to live abroad while earning foreign income. Taiwan offers a two-year visa based on age and income criteria, Thailand’s Destination Thailand Visa (DTV) provides a five-year, multiple-entry visa (up to 180 days per stay) with remote work and savings proof, and Spain grants up to one year (renewable up to five years or three years if applied locally) for applicants meeting remote work and minimum income thresholds.
Touch Down, Tune In with Every Flight
Securing a tourist visa comes down to early preparation, honest documentation, and clear intentions. Once your passport is back with that fresh visa stamp, you can shift your focus to enjoying the journey toward your dream destination.
Make sure you’re completely roam-ready before taking off by pre-booking your roaming promos via the GlobeOne app, so your data activates automatically the moment you land. You may also choose a more budget-friendly roaming promo through RoamSurf4All, which allows you to share one roaming data pack among up to five travel companions.
For an even more hassle-free trip, bundle Oona Travel Insurance at checkout on GlobeOne: postpaid roaming users can add coverage starting at ₱109 (up to ₱2.5M coverage, ideal for Schengen visas), while prepaid roaming users can add protection for ₱199 (up to ₱1M coverage).
Turn all your hard-earned visa preparations into an unforgettable getaway: arrive connected, travel protected, and focus on capturing memories that last.